 |
|
|
|
PROCESS |
Large Octopus 1 (2011)Working Leather hard clay with carving tool. To the left are octopus source photos. The initial pinch pot technique is visible at the advancing top edge. I work upside down for work that stands on thin legs. There are wood rods in most of the legs. They will burn out and leave channels for metal rods after firing. I finish the carving around the halfway point in preparation for cutting the sculpture in half with a hack saw. I will stand the legs on the sawed edge to finish carving, placing a board atop the tips of the feet to level them. I fire the bottom half upside down, put rod in the weight bearing legs, strengthen some toes with epoxy, and stand them up. I finish the top half right side up. 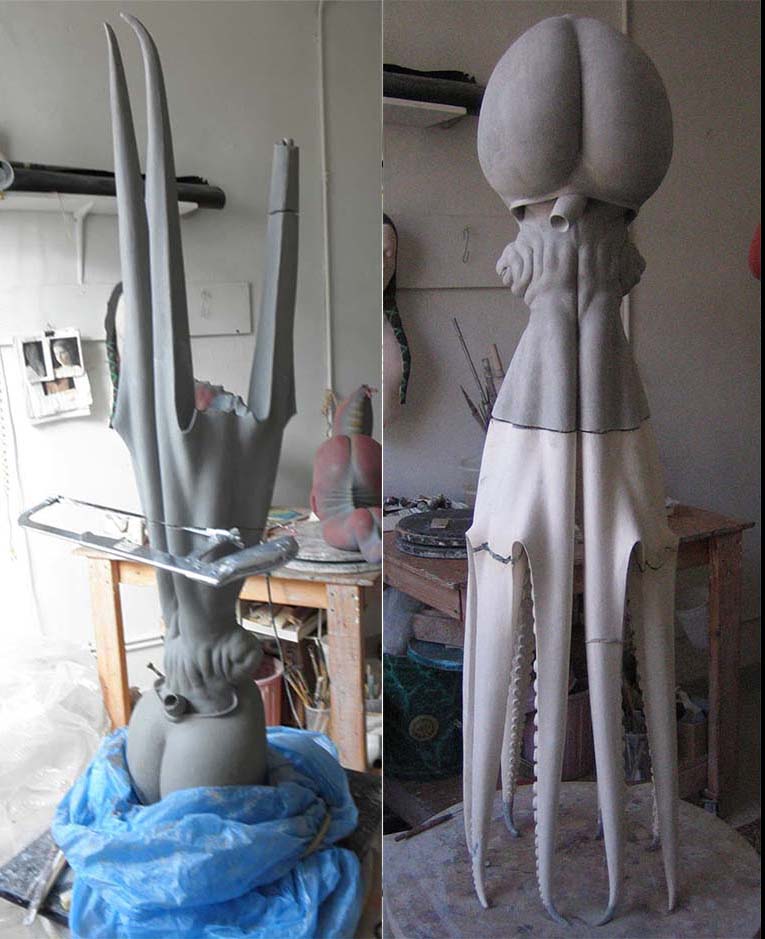
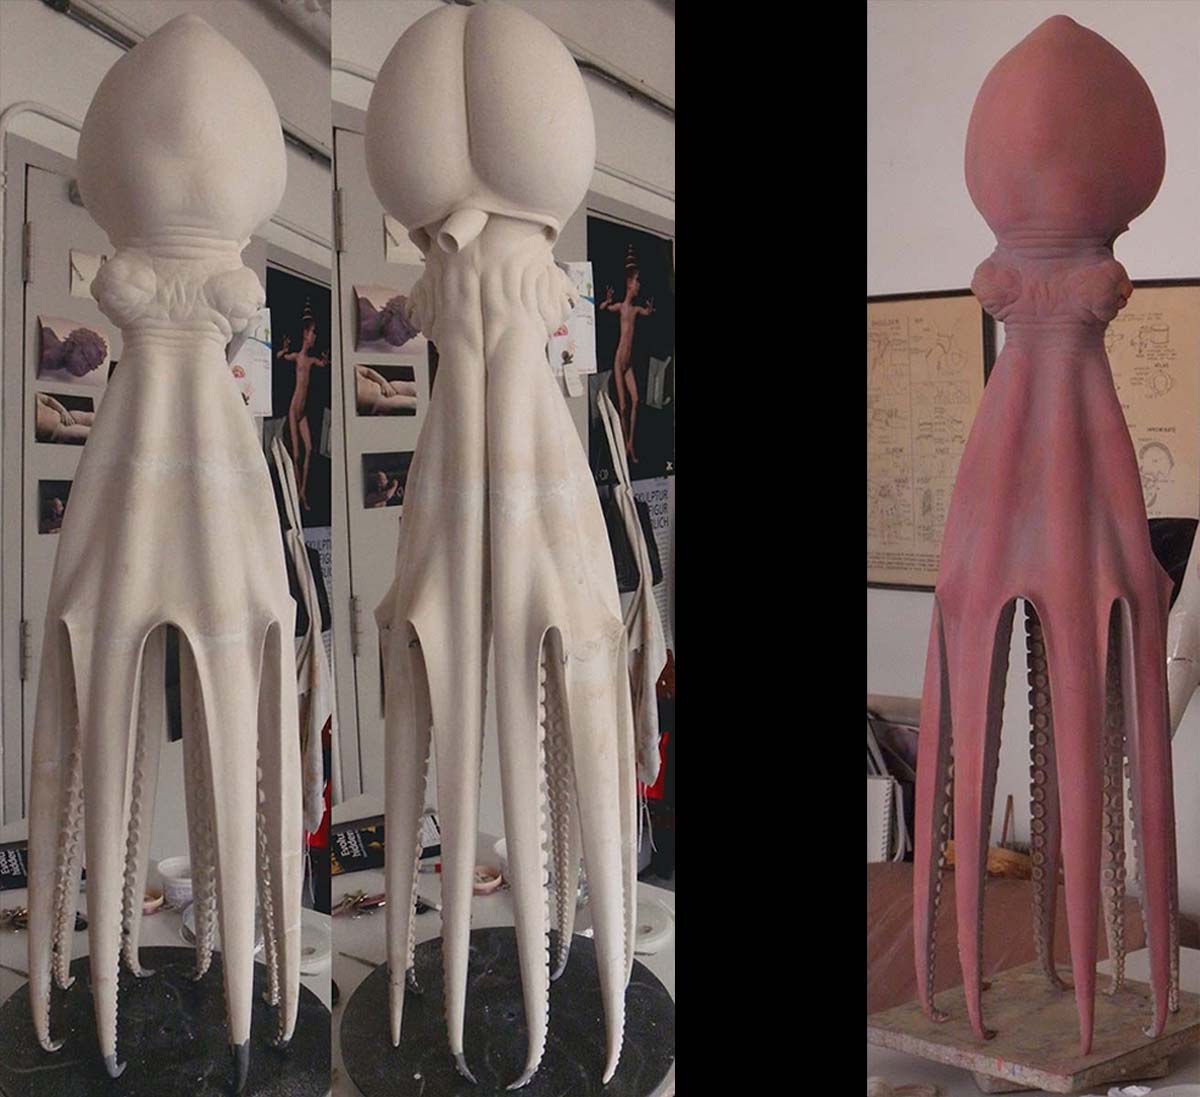
Once the top is fired the parts are adhered with epoxy. You can see a light bands where I filled joins with plaster and recarved them to blend with the surface. If the joins are visible after the first coat of paint I refine the fills with spackle. There will be many coats of paint added. Mermaid (2011)In order to hand build ceramic figures you must first practice modeling in soft clay on an armature. My method presupposes expertise in figure and form resolution. I began to build in clay as a way of avoiding mold making and casting. For Mermaid (2011), I took a month to create a small model from photographs, to work out the major curves and volumes of the composition. Once the life-size figure was started, I went back to using the photos for further specifics of anatomy. 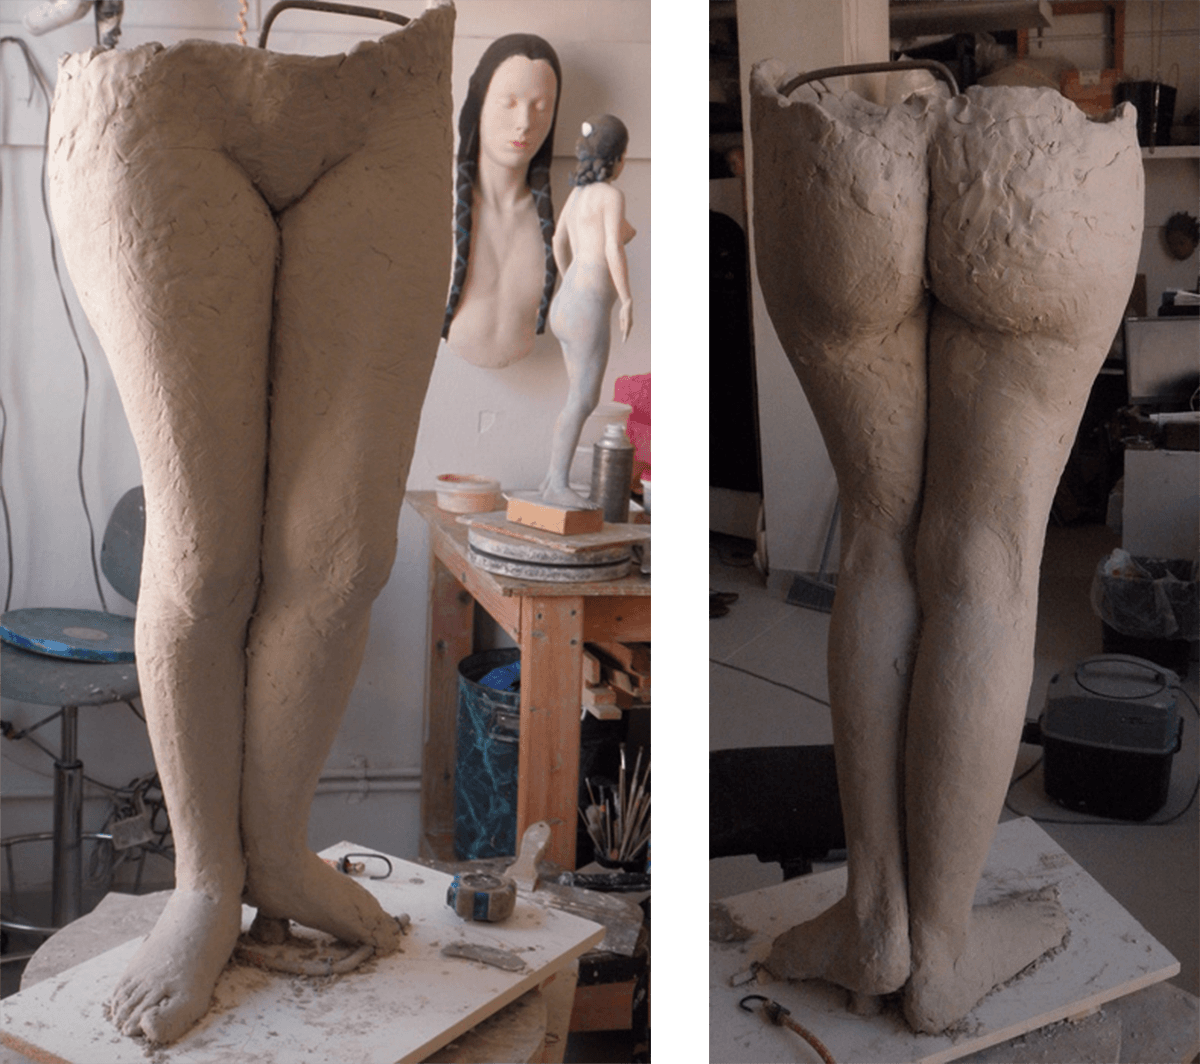
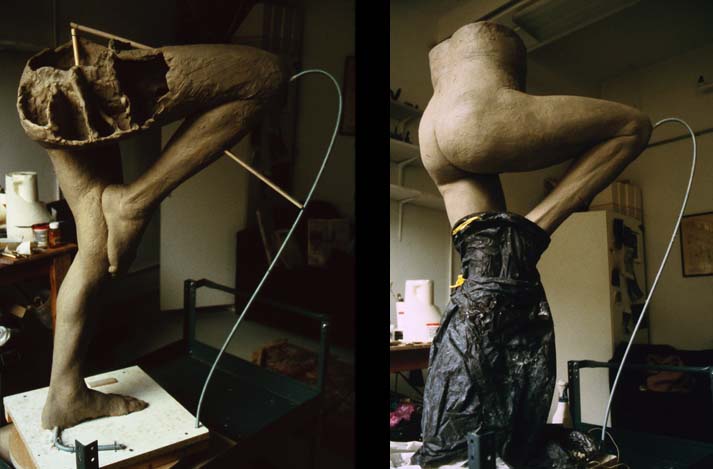
Figures are built up from the bottom gradually to allow shrinkage from soft to leather hard clay. The armature is 2 conduit rods connected at the top by a removable bent rod inserted into the tops of the conduit. One of the conduits is held up by a pin that is wired to the base�the pin�s anchoring is visible above left. Below is the joining of the conduit rods with a removable bent rod. 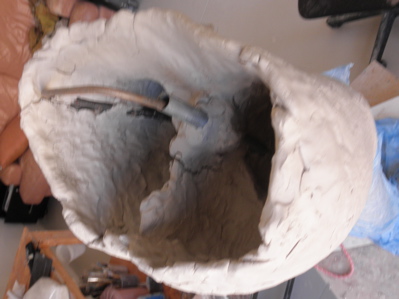
The clay is built up at a rate of several inches a day, allowed to harden, and then maintained by spraying at leather hard. The form is carved with toothed tools. Soft clay can be added gradually to leather hard, since I don�t mind small fissures that may develop from firing. 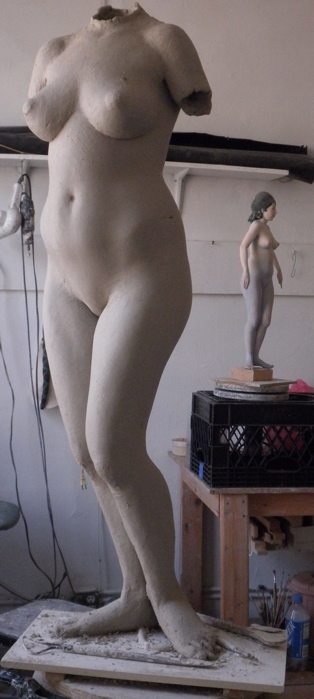
The figure is built up to the top, before cutting at midsection. The torso is removed for separate work. 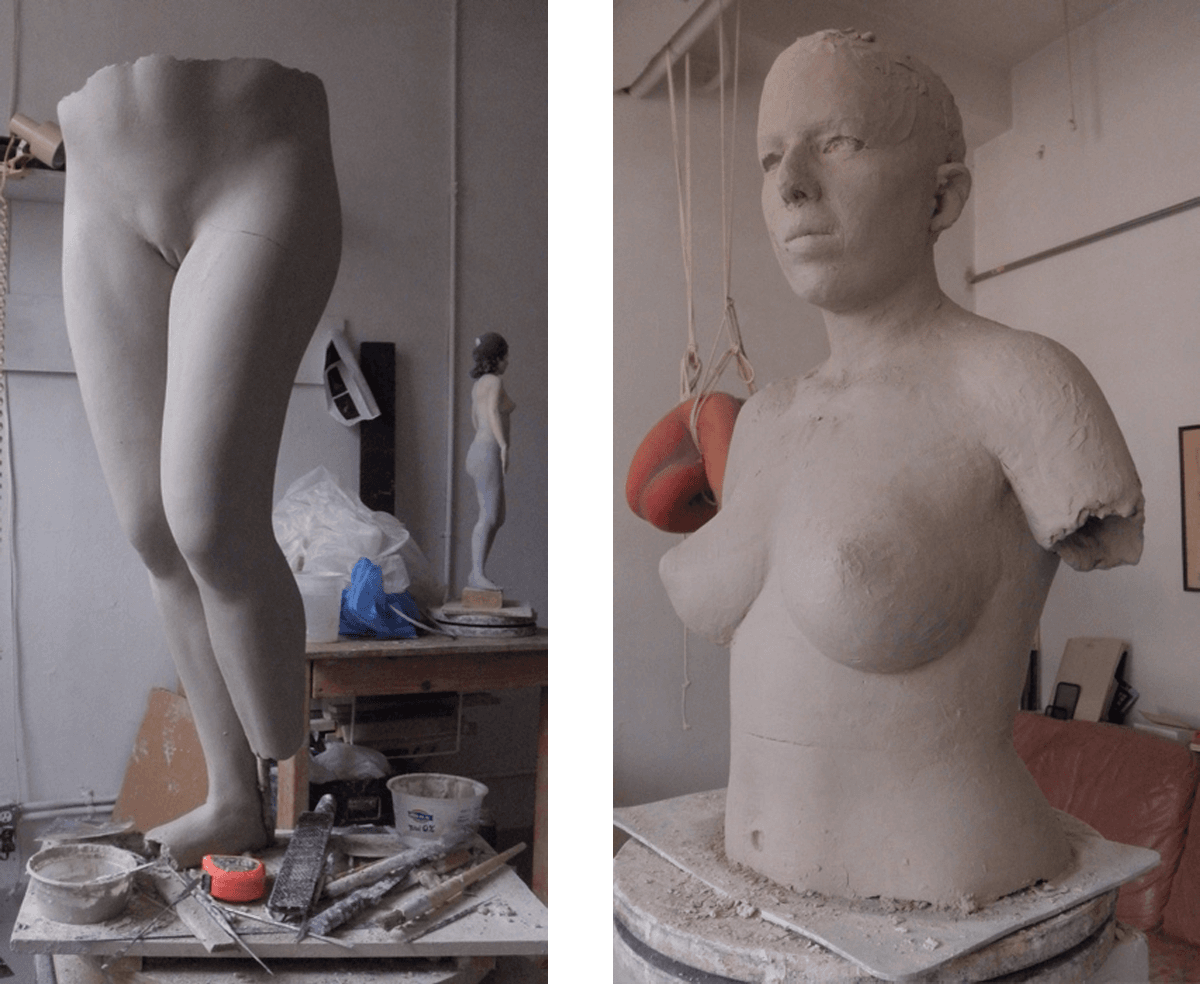
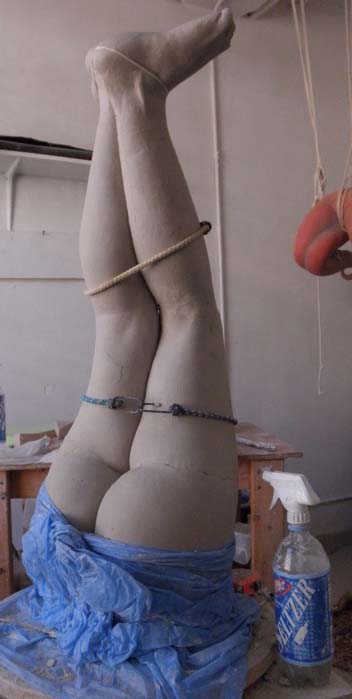
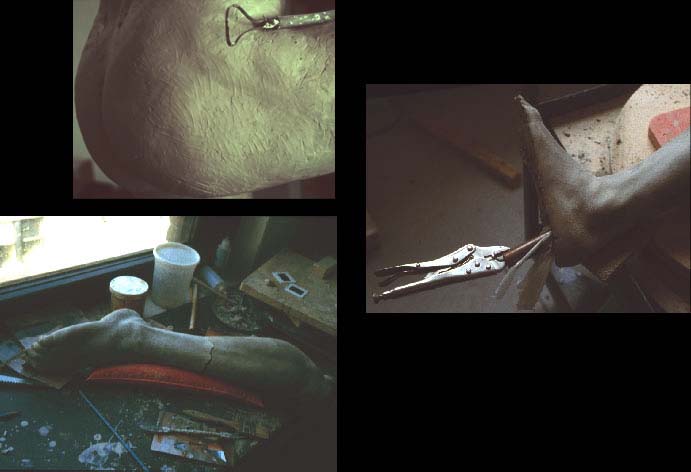
Then the legs are removed from the armature, and turned upside down. Legs are separated for better access to thighs, and feet are broken off at ankles for final carving. 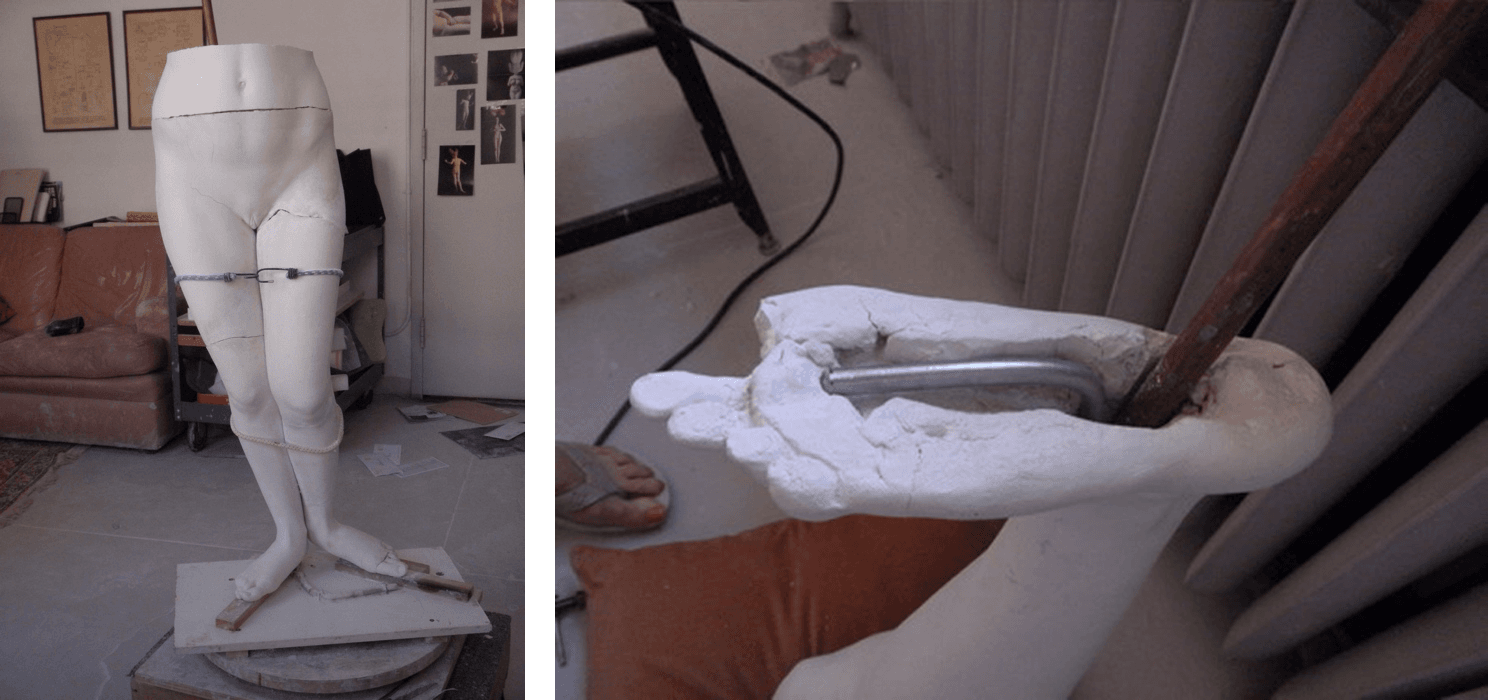
The legs are fired in pieces and reassembled upon the fixed support rod of the armature. Stainless steel rod reinforces the legs to the ball of the foot. 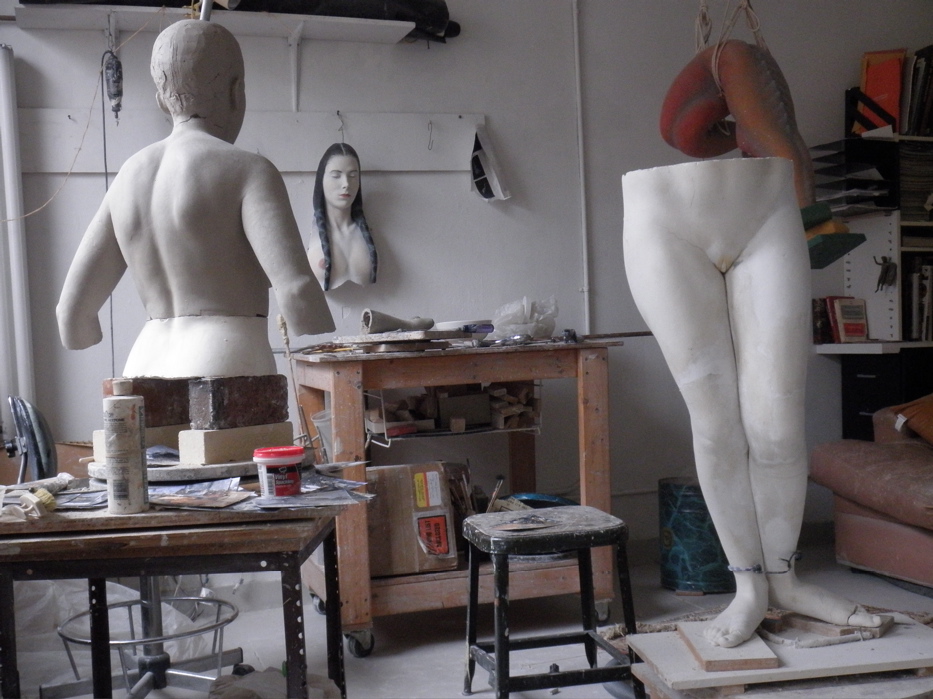
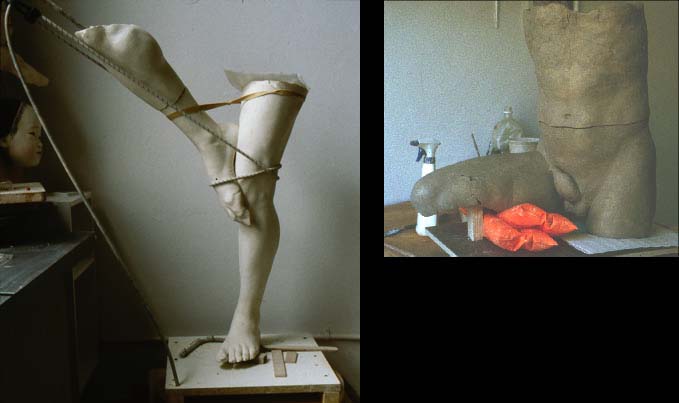
The leg parts are joined, and joins are filled with plaster and carved. The midriff is used to mount the upper body and head for continued carving. 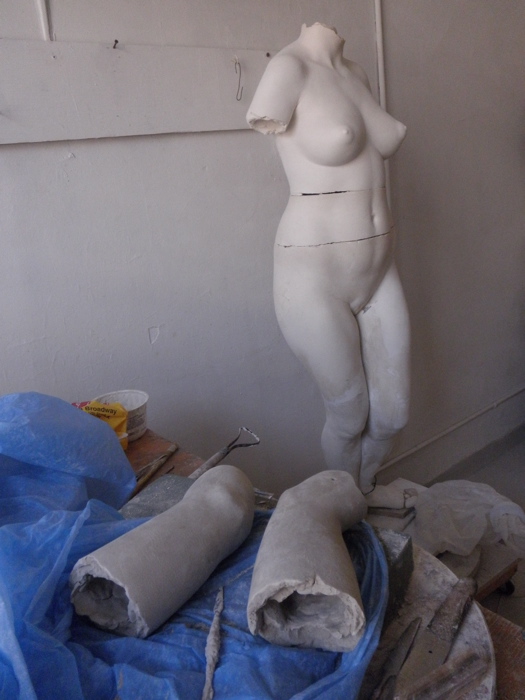
Arms are cut off for separate carving before firing the upper torso. 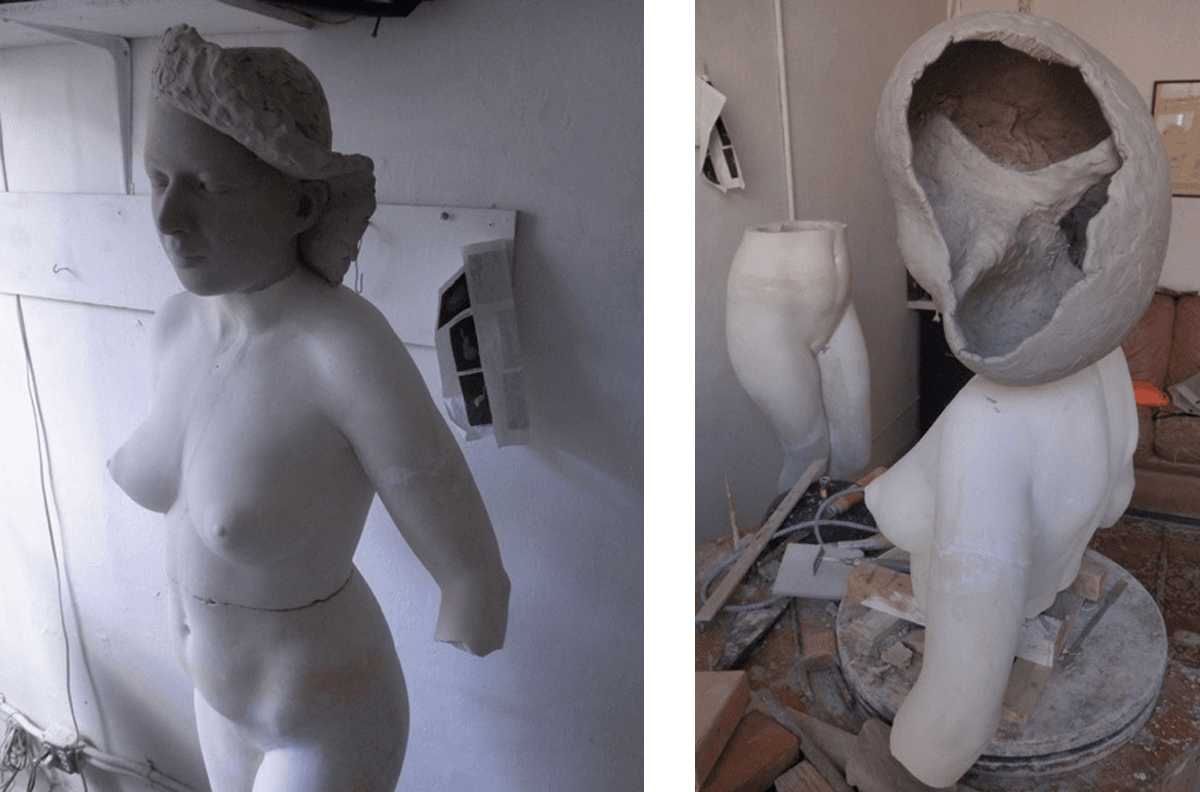
Waist section is attached to legs, and head is placed on neck for shaping the hair 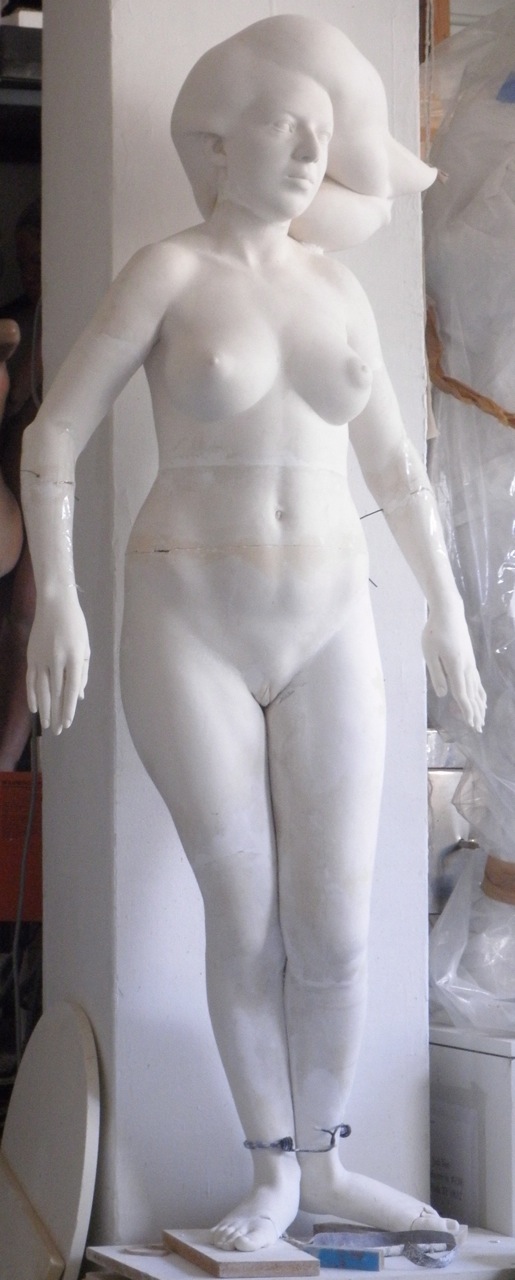
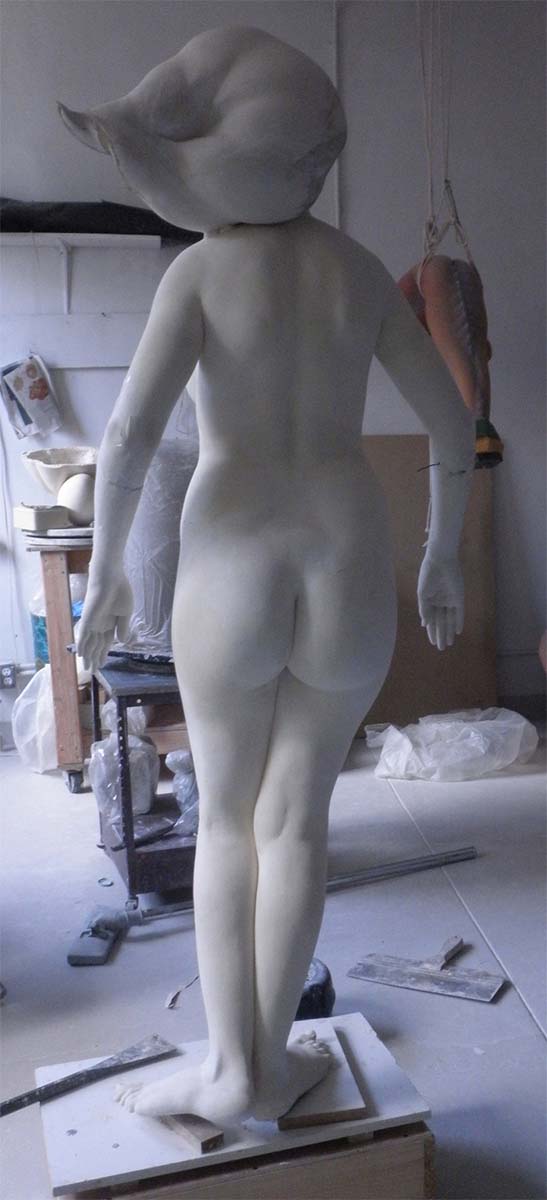
Finally the hands are carved and fired. Using photos enables me to render idiosyncrasies like the model�s aquatic looking double jointed fingers. |
||
|
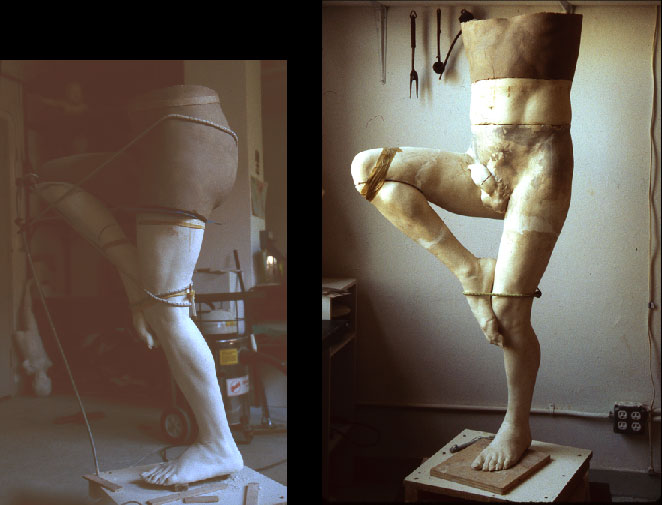
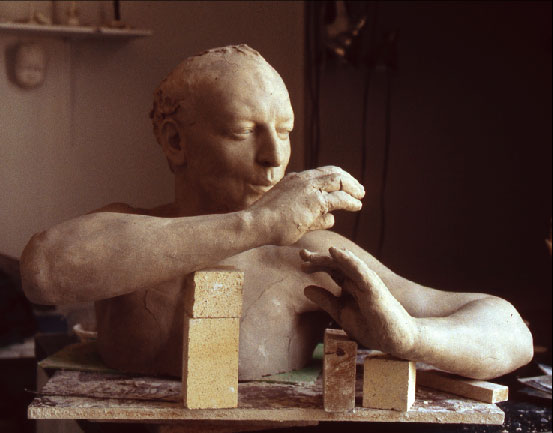
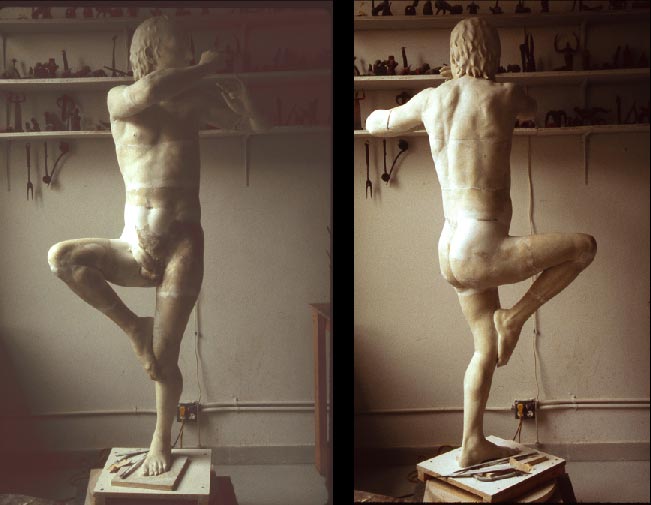
Satyr (1998)Armature for lower half only.
Form is hand built, roughed out with clay modelling tools when firm,
then carved with loothed plaster working tools at leather hard. When a
section is fully resolved, the armature is pulled out.
The finished section is fired and then put back on the armature, so the
next level can be built up on that. Finishing work can be done on a
more stable platform.
I try the new section on for size periodically. (There is not much
shrinkage between leather hard and bisque fired.)
Typically, things get urgent towards the end, as the clay gets tired
of rewetting, and cracks appear.
After all is bisque fired, the piece is assembled. Gaps and cracks
are filled with plaster and spackle. It remains divisible for casting,
to preserve crevices and undercuts.
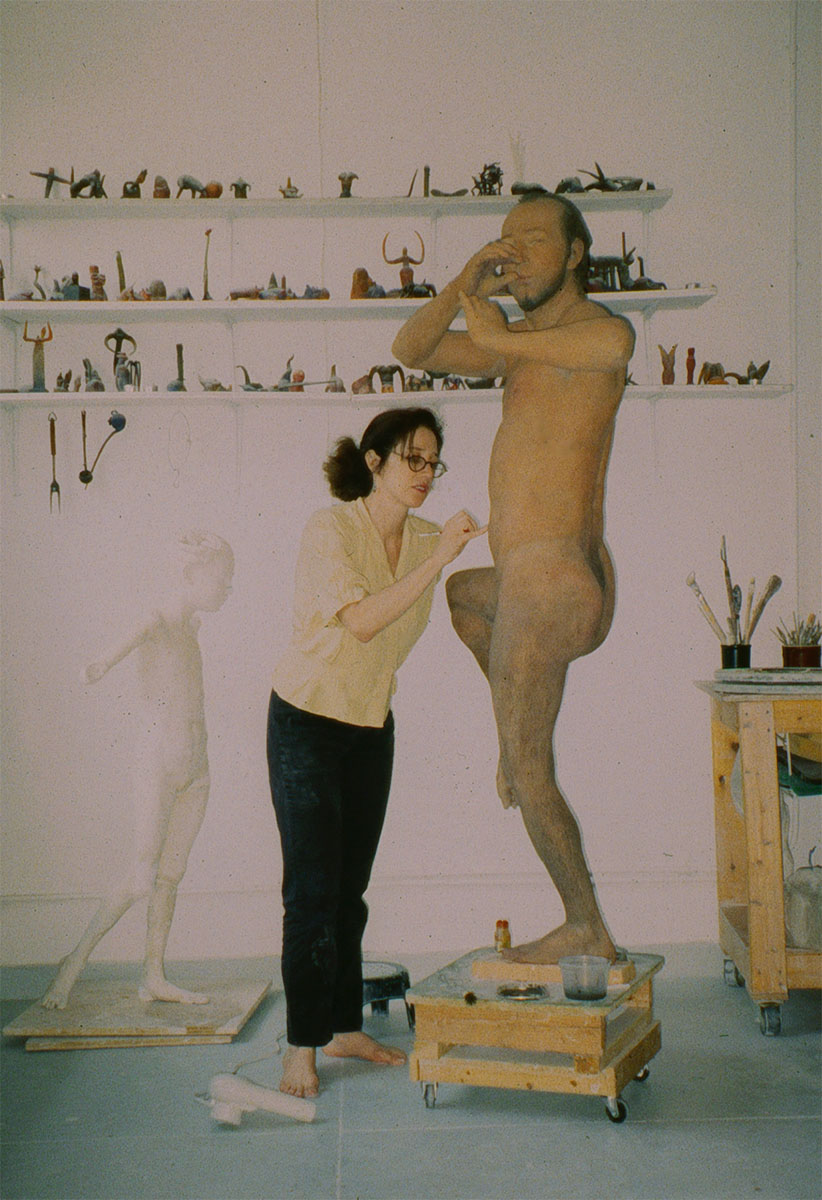
I usually paint the terra cotta original, but for this heavy fragile
work I showed a synthetic cast. I paint it with casein, building up
many layers of washes. |
||
